Home automation project -Minimol v2.0 Integration with Google assistant
- Kevin Kuruvilla
- Sep 15, 2020
- 3 min read
Updated: Sep 16, 2020
Ever thought of a life where you could just command your home appliances to work as you need just by using your voice? Gone are the days where you have to be a billionaire like Tony Stark to have an automated house which is voice activated. In this short tutorial I’m going to show you how you can control your electronic appliances like T.V, fans, lights etc over the internet with your voice and that to under a budget of Rs 500. You can follow this tutorial even if you have no prior knowledge about Programming or NodeMCU. In this I will be showing to link nodemcu with google assistant ,for full tutorial click on video below !!
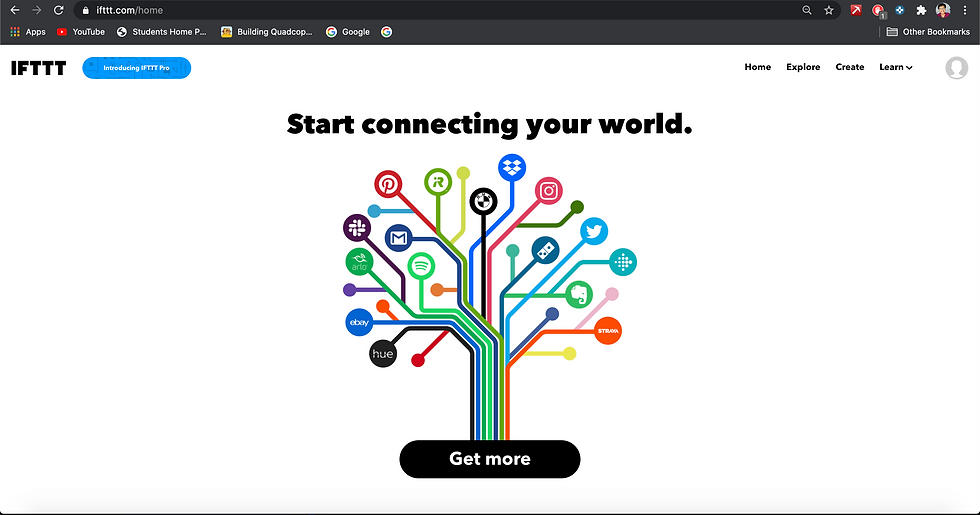
Step 1: go to ifttt.com and sign up using google or facebook

Step 2 after successful signing up click on create in top most right corner

Step 3 first click on add and select google assistant from the list

Step 4 : click on the small pamphlet that says “say a simple phrase” and click on connect and will once again ask for signing confirmation and when asks for permission click on Allow (Note: the same google assistant login should be used on phone also)
Step 5: type anything like “turn on light /fan “and scroll down and click on create trigger
And our trigger is created successfully
For the next two text boxes, you write some other ways to say the first command. For example, if in the first text box you wrote “Turn on the T.V”, then in the second and third text boxes you can write something like “Turn the T.V On” or “Please Turn on the T.V” or “Turn the Idiot Box On”.
Step 6
next click on Then that and search for web hooks and click on connect account (Note :this is the crucial parts web hooks sends command to blank server

Step 7. Now, in the URL field type this URL:
http://188.166.206.43/ YourAuthTokenHere / update / DigitalPinToBeUpdateHere
This is the URL of Blynk Server of India, but it should work for other places as well. Replace the “YourAuthTokenHere” part with your Blynk Auth token that you received in the mail. And “DigitalPinToBeUpdateHere” part with the Digital pin of NodeMCU that is to be updated. So, as we assigned the Digital Pin D0 of NodeMCU to relay and theortically we must write D0 in place of “DigitalPinToBeUpdateHere”. But wait we cannot write D0 there, because when Blynk Server receives this command from IFTTT it assumes as if the command it received was to be sent to an ‘Arduino Uno’ board, but in our case, we are sending it to NodeMCU.
To solve this, we must type the Digital pin of Arduino which corresponds with the NodeMCU. You can find the mapping in the image below.

1. As you can see in the image, Digital Pin D0 of NodeMCU corresponds to Pin D16 (GPIO16) of Arduino. So instead of D0, I’ll write D16 as the pin. In the end the URL should look something like this: http://188.166.206.43/ / YourAuthTokenHere / update / D16 (Note:type your authtoken in the space)
2. Next, Select the ‘Method’ field as PUT
3. Select ‘Content type’ as Application/JSON.

For the ‘Body’ type this: [“0”]
Here ‘0’ means to turn on, so we are basically saying Blynk to turn on relay that is connected to pin D3, which in our case is Relay one.
Now click on ‘Create Action’ and then Finish.
When this is all done, you will be able to say the voice commands to your Google Assistant and it should work like a charm! So now, you have your own voice controlled Minimol .


Comments